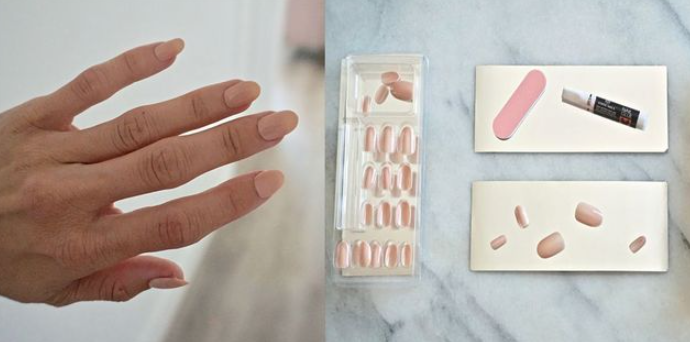
How to Apply Static Nails: Step-by-Step Guide and Tips
What makes these nails "static," do you know? Or why do they have this name? Well, static comes from an electrostatics term when two materials become charged. The atmosphere can become charged by rubbing against clothing or other surfaces.
Can you imagine yourself putting a spring in your step? Wow! Sounds pretty good, doesn't it? But how can you achieve that? This article will discuss nails and how to put them on.
Start by removing any old nail color. You can do this with an acetone-based remover or by filing off the top layer of polish. If you're using a remover, wear gloves and keep them away from your skin and eyes!
Clean the space under your nails to remove dirt, oils, and bacteria. Then use a cuticle pusher to push back your cuticles in one direction along the sides of your nails. Don't push hard — just enough to make them recede slightly. This will prevent them from getting stuck under the nail tips while applying the static nails.
Use a buffing block or emery board to buff away any rough edges from your cuticles gently—this will ensure they don't snag on anything during application. Then go over your entire nail with a fine-grit file to give yourself a smooth surface for applying the glue.
Cut back any excess cuticle skin from around each nail with an orange stick or paring knife (don’t worry if you accidentally nick yourself – it happens!). This will give you more room for the glue to adhere to your nail and allow you to shape the tips of your nails more easily.
This is the most important step in applying static nails. You need to choose the right size nails for each finger. This will ensure a professional-looking manicure that lasts longer than usual.
Now, apply your adhesive to your natural nails and wait for them to dry completely. This is when you can remove any bubbles under your static nails. Once everything is dry, it’s time to apply gel polish on top of them.
With the nail facing up, line up the tip of the static nail with your cuticle and press down slightly. This will prevent any excess glue from getting on your skin. Do the same for each finger.
Hold each finger under a warm (not hot) blow dryer for one minute to heat and harden the glue. While doing this, don't be tempted to move any fingers because this could cause them to stick together.
Use an emery board or metal file to remove any excess glue around your nails and shape them as desired before applying polish.
You've done it! You've finally gotten your nails professionally done with static nails. Now what? Here are some tips for maintaining your static nails:
Be Gentle
Your nails are still new, so you must be careful with them throughout your daily routine. You should also be gentle when removing your polish or doing other beauty treatments, such as cuticle oil or nail polish remover.
Keep Your Nails Clean
Wear gloves when cleaning up around the house, and always wash your hands before touching your nails.
Remove Old Polish With Acetone-Based Nail Polish Remover
Don't use water-based removers; they can cause the acrylic to shrink and pull away from the nail plate, leaving gaps that are difficult to fill.
UP NEXT: 6 Best Nail Salons in NYC for Every Style
Static nails are by far the easiest to apply, plus they look great and last for a long time. They're the type of manicure you can do when you're in a hurry or need something that looks great for a party or special occasion. Static nails are ready for primetime.
Absolutely! The application process is entirely safe, with no harmful chemicals involved. Static Nails are made from 100% natural ingredients and contain no formaldehyde or other toxic chemicals like regular nail polish.
You’ll need a base coat, a top coat, and the polish itself.

Beth Norris has years of experience working with top cosmetic and skincare brands for years which reflects in her blogs which are packed with beauty and skincare tips. She has amassed a big following over the years, who wait for her content anxiously.
Related Post
Lip Fillers Before and After: A Detailed Guide
You may believe you've read everything about lip fillers. However, Lip Filler Before and After should be thoroughly understood if you're considering this cosmetic process.
Quick And Easy Hair Care Routine For Managing Fluffy Hair
Fluffy hair affects many people. Overvolume causes it. Hormones and genetics can cause this. It can be effectively managed and eliminated. How to get rid of and manage fluffy hair is covered here.
The Pros & Cons of Anti Eyebrow Piercings
People rarely have anti eyebrow piercings, making them difficult to learn about. You should get all the facts straight before you commit to this piercing, though, since it's such an obvious one.
Tips & Tricks For Maintaining Your Neck Beard
Take your time shaving around the beard just as you would when shaving your face. It takes time to shave properly, especially when it comes to pre- and post-shave care.
Popular
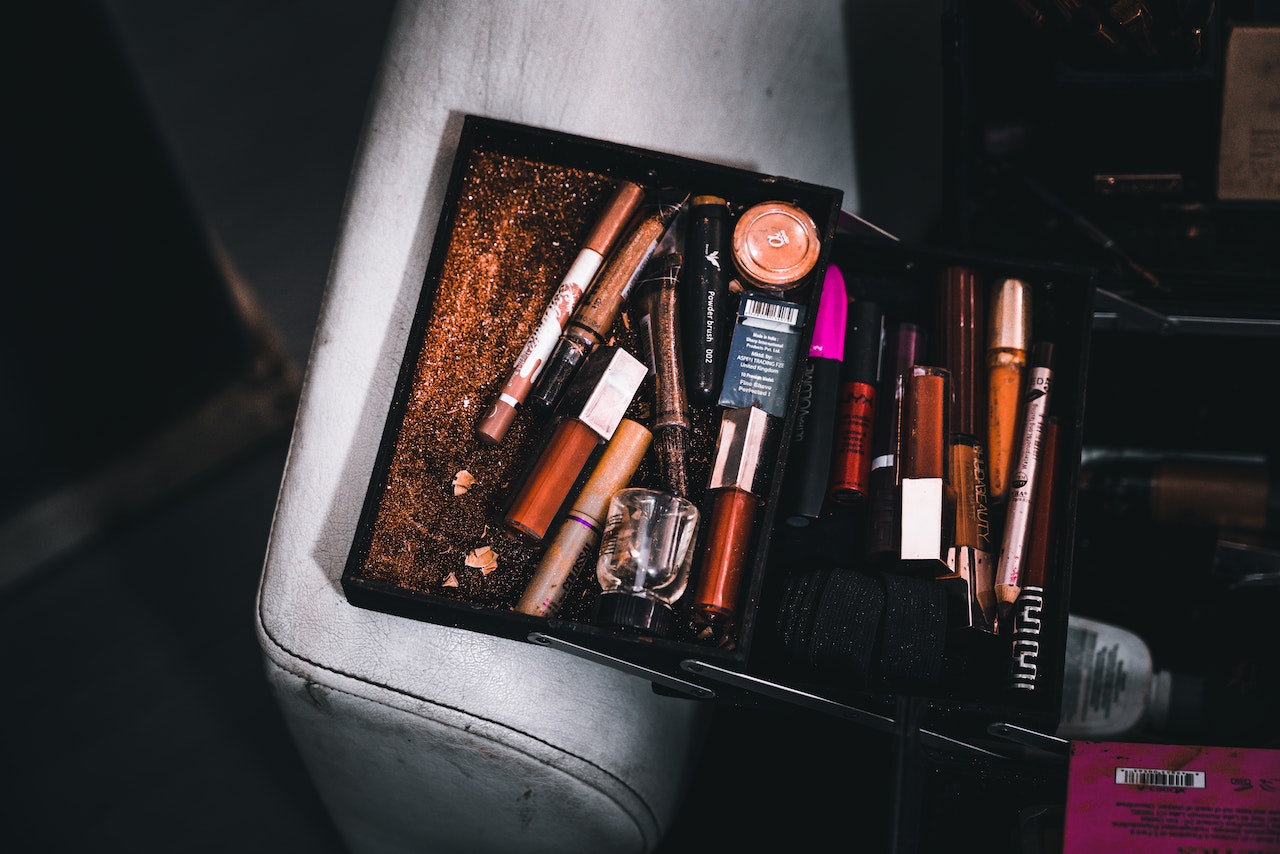
6 Affordable Makeup Organizers To Declutter Your Vanity
For the makeup lovers! Here are the best 6 Affordable Makeup Organizers To Declutter Your Vanity.
Look at the Stunning Debut of Alia Bhatt at the Met Gala 2023
Alia Bhatt Met Gala 2023 debut was a huge success, and she certainly made a mark with her stunning look. Now grab for more details here!
Crunches Vs. Sit-Ups: Which One Is Best For Your Abs?
Exercises that burn fat can help you lose weight .If you want to know Crunches Vs. Sit-ups: Which one is best for your Abs read below
Black Seed Oil Benefits For Hair and Skin
Black seed oil offers a wide range of benefits for hair and skin. Now get more information about black seed oil visit the blog!